Seriously '(O.0)'

Tuesday, October 6, 2009

Photorealism with Mental Ray - Weeks 04+05

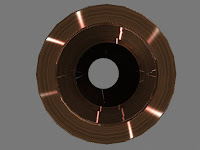
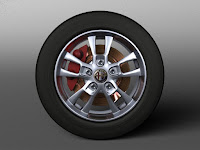
1. Break Disc no MR Approximation using ward shaders for highlights
2. Warpped highlight because of the approximation(need to fix)
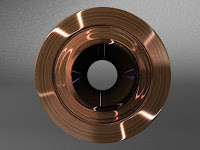
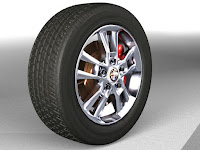
3. First test at rendering the wheel with FG and Physical Light on Cyclorama
4. Seconde attempt at lighting the wheel with FG and Physical Lights on Cyclorama
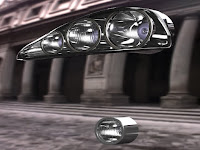
5. Testing Chrome of headlights and Patterins of the glass.


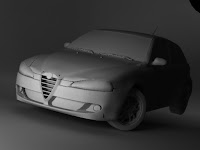
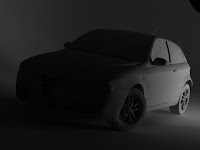
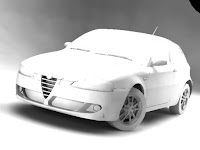
1. Testing Final gather of Key Light in a completely diffuse environment on Cyclorama
2. Testing Final gather of Fill Light in a completely diffuse environment on Cyclorama
3. Testing Final gather of all lights in scene including Reflector acting as a SoftBox in a completely diffuse environment on Cyclorama
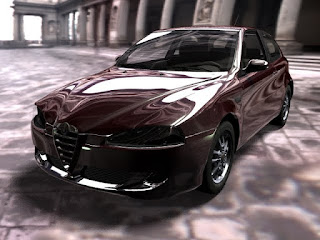
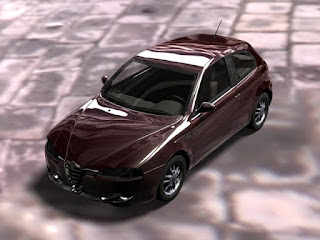
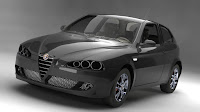
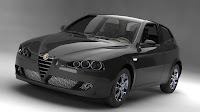
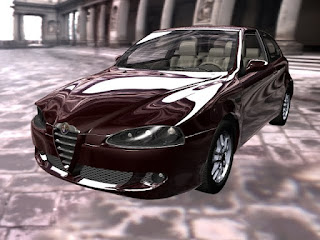
4+5 Frist Render of car on Cyclorama with studio lighting. Used FG and Physical Light, the lights were pointlight acting as MR Area Lights. There was a piece of geometery on top of the car reflecting light simulating a Soft Box.
6. Revised Studio Lighting Render added directional light to fill in the shadows of the flood lights.

Thursday, September 24, 2009

Photorealism with Mental Ray - Week 03


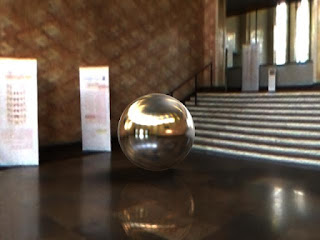
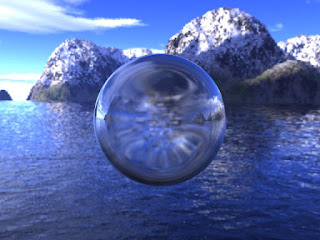
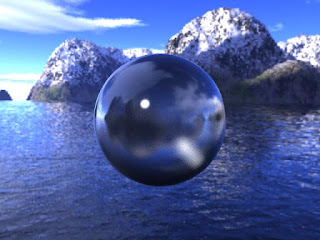
This week we worked with a "Mirror Ball" image and the Mental Ray Matte Shader material. With the Mirror Ball, the reflections only work if the object is in the exact spot that you shot the mirror ball.(or close enough) The reflections are off in the animation but I was still happy. l like what little effect I could get right and hope to learn how to execute this properly in the future.


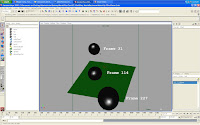
This is a couple of screen grabs stacked into one image so you can get a better idea of how much of the scene was really CG. As you can see the only pieces built in 3D were the ball and the plane that it interacts with through Dynamics and Raytracing


Here is the final product of the animation with Mirror Ball Environment and Matte Shader Raytrace reflections.
Monday, September 21, 2009

My Light Pencil

Wouldn't it be cool if a crayon made of light
fell out of the sky.
Like a star bored of space hoping for a little
mischief.

Saturday, September 12, 2009

Photorealism with Mental Ray - Week 02

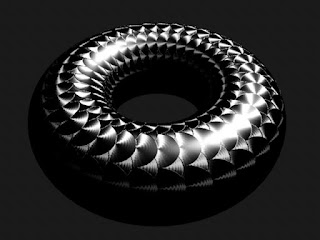
This week we concentrated on Fresnel Reflections, refractions, Chromatic Aberrations, Specular + Glossy Highlights, Brushed Metal, White Balance, wave lengths and visible spectrum. There is more but its just getting redundant listing all these topics.

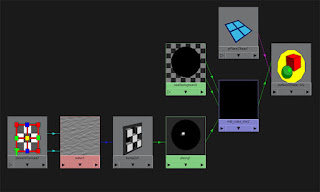
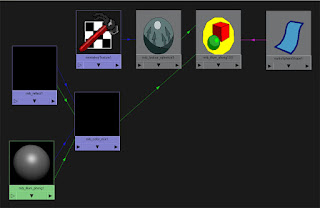
Using MIB Blinn Mental Ray Shader node


Using MIB CookTorr Mental Ray Shader node


Simple Brushed Metals method


Mib_Blinn + Mib_Reflect + Mib_CookTorr --> Mib_Mix_Color Shader


Wednesday, September 9, 2009

Photorealism with Mental Ray - Week 01

This was the class work from the 1st week of my on line course
"Photorealism with Mental Ray"

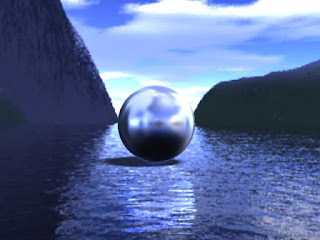
Here you are looking at a Spherical/Environment Map projected through the camera for the background, and then a blurred version of that map is projected onto the ball. There is a floor plane that is reflecting the sphere and has a bump to give the reflection qualities similar to the water.


Sphere Shading Group


Floor Shading Group(reflection)


Camera with Environment Map(background)

Wednesday, June 10, 2009

A sketch I inked


This is Oi's BearFriend.

Friday, May 15, 2009

Si Se Puedu!


I can, You can and We can.
lets go do it.

Saturday, May 9, 2009

Sitting on the Green.


Sitting on the Green.
A Little Bored A Little Excited.

Thursday, April 16, 2009

Experiment.08.


The product of testing different ways to do footsteps on water. I composited the man on top of the water in after effects. For the final I won't be so lazy. I'll use the rig in the scene. For now though I need a better was of manipulating the water instead of using only wake deformers. I'm also going to see If I can add a texture to the water.

a bit of a face

Sketching over Easter Holiday.

Sunday, April 5, 2009

Pat's Cut Out Project.01.

Project: Take images of Pat's Munny and create a cut out template like the ones from Cubeecraft.com

Oi and I took a bunch of picture of Pat's Munny last weekend. We tried shooting with indoor light and a hand held flash but it didn't work to well. Oi suggested we use natural light so we set the Munny up next to a window and shot it. I put together this sample sheet of all the angles I will be using to make the cut out. The problem is to take a pictures of a round surface and flatten them so that they fit on a flat surface.


Today I built the 3D model and set it up to be textured. I used the Mario cut out from Cubeecraftube as a guide for my UV's(texturing) and final Cut out template.


The 3D Model, or the part that 3D plays in this project is really just a tool to aide me in making a better cut out. Instead of printing and testing numerous cut outs I can manipulate the texture for my 3D model because it's layout for texturing(Uv's) are fitted to the cut out template.

Friday, February 13, 2009

Experiment.07. - Flickering Shadow effect.

This was going to be hooked up to a spotlight in maya to create shadows for a flickering candle. The project was put on hold -=[. The flame is more like that of a gas stove but it was just the beginning stages.